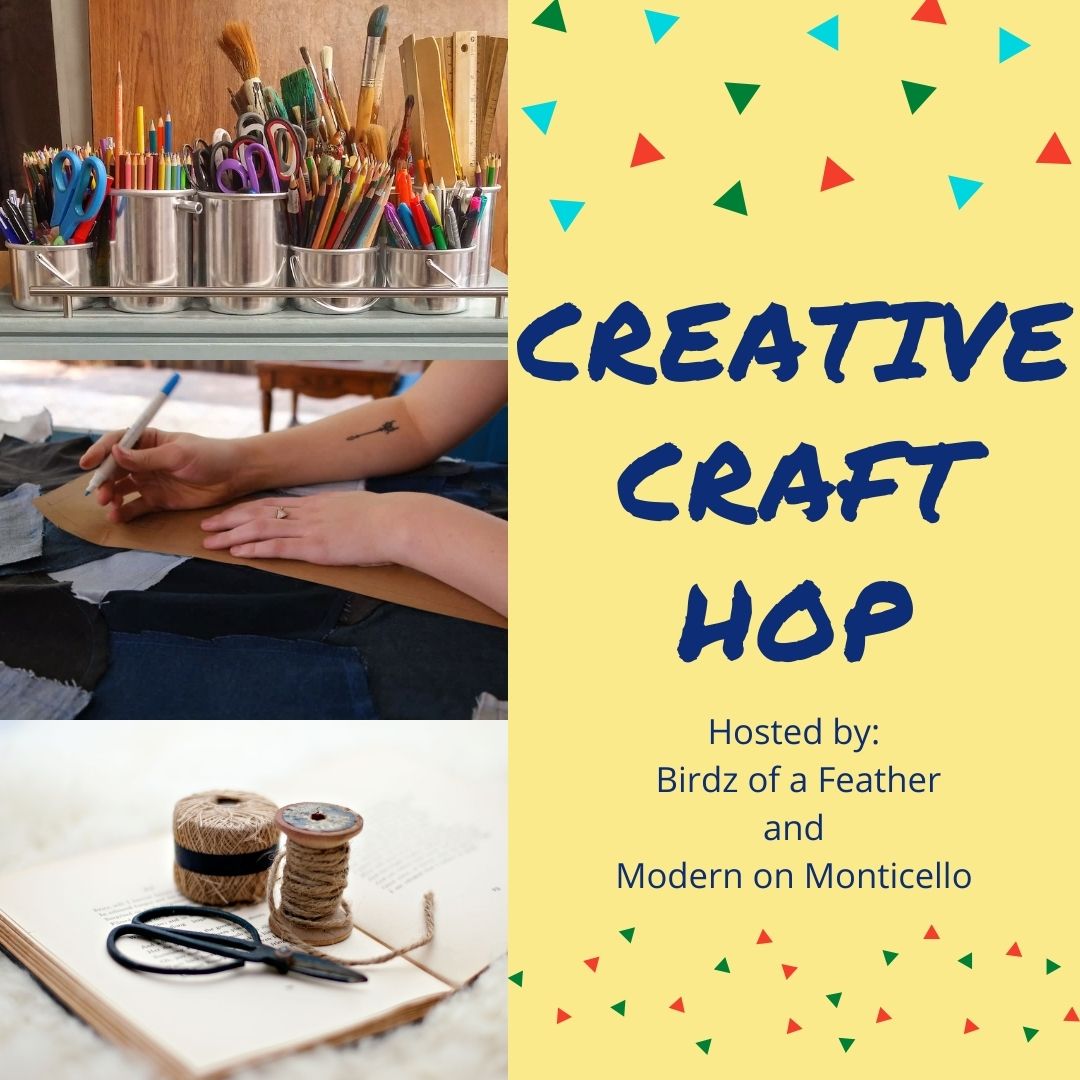
Tuesday, March 12, 2024

BHG Inspired Beaded Flowers


I've  been a subscriber to Better Homes and Garden (BHG) magazine my entire adult life. And before that, I grew up with the magazine arriving every month to our home. I loved looking at the beautiful homes pictured and the lovely gardens featured. There were lots of delicious recipes that my sister and I often tried to make, lol! I also love the fact that the magazine would usually have a simple DIY craft included in most of the issues! Imagine my excitement when I saw the cover of the January/February 2024 Better Homes and Garden magazine! Just take a look!  


It's all about beaded flowers and .  .  . 


 the simple (and sometimes not so simple) techniques on how to make them!     

 Welcome to our Creative Craft Hop hosted by Sara @Birdz of a Feather! We are so glad you're here! If you're coming over from Donna @Modern on Monticello, welcome! Wasn't Donna's Pom Pom Pillow adorable! Please don't forget to check out all of the stunning creative craft projects listed at the bottom of my post!

Now back to my excitement about Beaded Flowers! When I looked at the cover of the BHG magazine and read the article, I wanted to know more. I discovered that this type of beading is called French Beading, which is really an ancient beading technique. However, nothing in the article mentioned that what they were talking about was actually French Beading!


Anyway, I was excited to try some of the techniques described and make a few  beaded flowers! I had acquired lots of seed beads when A C Moore went out of business and was excited to finally be able to use some of them! The only problem I had was the fact that this technique called for size 11/0 beads which were much smaller than the 6/0 beads I had in my stash! But that didn't stop me! In fact, to make these beaded flowers I'm using what I already had on hand including a bead spinner I had forgotten about! I have no idea what I made with it. I guess I was trying to make something since one of the bowls that came with it was full of beads, and the two curved needles included were no where in sight! I'm really glad I found that. I don't want to think about threading all those beads onto wire by hand!


Materials Used:
  • Seed Beads 6/0
  • Wire - 26 gauge 
  • Bead Spinner
  • Wire Cutter
  • Ruler
  • Nylon Jaw Pliers
  • Needle Nose Pliers
  • Wood Skewer Stick
  • Stem Wire 16 gauge
  • Floral Tape
I decided to make a continuous loop beaded flower - which means making the petals or leaves on the same length of wire. one loop is one petal. So the first thing I needed to do was to string all the beads I thought I would need on 26 gauge wire - while leaving the wire attached to the spool.

It didn't take me long to thread all these beads onto the wire- about 1 and a half yards of beads. It's best to have more beads on the wire than you actually need!

Knot the end of the wire so the beads won't fall off.


To decide how many beads are in a petal, you can either count the beads or use a ruler. I decided it would be easier to use a ruler. I wanted my petals to be four inches. So I left about four inches of wire from the end knot and slid the 4" of beads after measuring toward the 4" space of wire.


Create a loop with the beads, twisting the wire three times to secure.


Leave a small space on the wire and measure out another four inches of beads.


Create another loop, twisting three times again.

Continue leaving a small space between loops and measuring out four inches of beads. forming a loop until .  .  .


you have the desire number of petals. In this case, five petals. Then cut the wire, leaving a four inch tail. Cross the tail wire over the first wire creating a circle of petals, twisting the two wires together into a tail.


I wanted to make a layered continuous loop flower, which would make the flower look fuller. That meant decreasing the number of beads in each petal for each additional layer. I chose to make three layers of petals. So for the next layer, I measured out three inches of beads for each petal and repeated the steps I used with the first layer. Once the second layer was complete, insert the tail into the middle of the first layer twisting both tails together.


For the third layer, measured out two inches of beads for each of the five petals, leaving a small space between each loop and repeating the same steps as before. Stacking all three finished layers together and twisting the wire tails together to secure. 


Complete the look by adding beads to a four inch wire, wrapping the length of beads around a wooden skewer. Then remove to twist the two wire ends together and .  .  .  
              
inserting the wire ends into the center of the flower layers for a decorative look. 


Finish the flower by inserting a stem wire into the back of the flower and wrapping the bead wire around the stem wire. 


To make the leaves, use the bead spinner to string a few feet of beads onto wire, then make a small loop so the beads won't fall off.


Count out four beads for the basic row from the spool and slide them toward the end of the wire. Leave a small length of wire above. Make a loop in the wire and twist a few times. 


The bottom wire will become the leaf's stem wire which will attach to the flower stem.

Move more beads down the working wire slightly longer that the basic count up from the spool and wrap around until they are beside the basic row toward the top wire.

Wrapping the working wire with beads around the basic wire from back to front.


Repeat bringing up more beads for each row until the desired number of rows for the leaves.


Cut the basic wire a little above the top bead and bend the short piece to the back of the petal.


Close the loop and twisting the wires together. These will become the stem.


Then add the leaf to the flower stem.


Have fun joining addition flowers and leaves to the stem.


Use floral tape to wrap and cover the wires and stem wire.

Here's a different floral look using the same basic techniques!


I hope you are inspired to try making a few beaded flowers! It is truly a fun craft!  Up next is Jenna from The Painted Apron sharing her beautiful 3D Flower Art Canvas! Jenna's creativity is amazing! And don't forget to check out all of the stunning creative craft projects listed below.


Tuesday, March 5, 2024

Upcycled Plastic Bottle Rainbow Flowers


Hello! Do you recycle some of your trash? As a crafter, I have lots of bags filled with recycled items such as plastic soda and water bottles plus other discarded plastic items! I just never know when I might need them for a project!


I love that it's a fun and creative way to give those plastic items a new lease on usefulness while helping the environment, too! So I'm happy to share with you a cool way to make adorable, colorful flowers out of plastic bottles, along with all the pitfalls I came across in trying to make them! And it's all just in time for our Sustainable Craft Challenge Blog Hop hosted by Julie @Sum of their Stories! This month's theme is Rainbow!

Have you ever heard of the term ROYGBIV pronounced Roy G Biv.  I first heard this term many years ago while in college and now when someone talks about a rainbow, I always think of Roy G Biv, the colors of the rainbow!  Red, Orange, Yellow, Green, Blue, Indigo, and Violet! Cool, right! So imagine how delighted I was to actually make a craft in the colors of the rainbow! Creating flowers in the colors of the rainbow from plastic bottles is a sustainable way to help the environment while adding a creative, pretty touch to your decor! So let me tell you how I made the plastic bottle rainbow flowers and what went wrong!  

Materials used:

  • Plastic soda bottles
  • Utility knife and small sharp scissors
  • Flower petal templates (graduated sizes)
  • Chalk pen
  • Microfiber cloth
  • Candle (open flame)
  • Acrylic multi-surface paints
  • Paint brushes, sponges
  • Awl/foam
  • Stem wire (16 gauge)
  • Needle nose pliers
  • Snips
  • Gloss Mod Podge

I first started with a clean, dry 2 liter soda bottle with the label removed. 

Then I cut out the smooth section of the bottle by removing the top area first, and then the bottom. Small, sharp scissors worked best for me! Be sure to save those pieces for future projects especially since I found that most plastic bottle flowers are usually made using the tops and bottoms of the soda bottles! Perfect shapes for flowers!

I wanted to make flowers with individual petals so I made graduated flower images on cardstock to cut out and use as templates.

Then I started cutting the petals out on the smooth surfaces of the soda bottles.

Once I had enough petals to make a flower, I lit a candle and began carefully shaping and curling each petal by holding the edges of the petal over the heat of the flame and not the flame itself. You don't want to burn the plastic. I used a small flat screw driver to hold the plastic petal while moving it around the edge to curl. 

To assemble the flower, I had plan on grouping two of the smaller petals to place in the center of the flower. I should have known things were not going to plan when I had trouble gluing the two smaller petals together along with a few of the other petals. I first tried Fabri-Tac, my go to quick grab glue - which worked when I made this! Then I tried Gorilla Super Glue and a couple of others, like RapidFuse and Quick Hold. I guess you're wondering why I didn't try E6000? The drying time was just too long to use for connecting the petals. It would have taken me days to complete this project. Hot glue did manage to keep the pieces together, but I had to use an awful amount and it made a mess on the plastic. 

Then I had the bright idea to google what glues were made to hold plastics together and found a flexible adhesive - Loctite, for vinyl, fabric and plastic! I rushed over to Michaels which had it in stock. However, I should have read the fine print that says to hold together until set (30 minutes) for each piece, in a well ventilated area - vapor harmful, may affect brain or nervous system! Plus, do not use near heat or flame. So using that was out of the question!   

So I went to plan B! Which was not using any glue at all!

I had a couple of smooth plastic 2 liter soda bottles I had gotten from the Dollar Tree. The smooth portion of the bottles would allow me to cut out whole layers of flower petals grouped together whereas the other brand name soda bottles would not! So I got to cutting out the plastic from the tops and bottoms. Since there were no visible lines on the top of the bottle, I placed masking tape around the top so I could try to cut a straight line around it. First using a utility knife to cut a short line and  .  .  .

then using my trusty small sharp scissors to cut out the rest of the bottle.
Just look at the amount of smooth plastic I cut from this bottle!

Here, I'm cutting the plastic open. 
And laying out the flower patterns to see how many flowers I can make with one soda bottle!
Then drawing the patterns on using a chalk pen.It was easier for me to cut the plastic into strips to draw on the patterns since the plastic was so curly.

And then, cutout!
Once the flowers were cut out, used a microfiber cloth to remove the chalk lines.


Once all the flowers were cut out, began shaping them by holding over the heat of a lit candle. Watching the edges gently curl - one petal at a time .  .  .


until all the petals were curled.


Once the flowers cooled, it was time to color them.  I wanted the flowers to have a translucent look, so I started with a red alcohol ink since red is the first color of the rainbow.  I'll show you how all the plastic flowers were made using the red one first. 
I don't know what type of plastic the soda bottles are made out of, but the alcohol ink did not take or stick to it .  .  .

no matter what I did and I've used alcohol inks before. No wonder a lot of DIY flowers were made with color plastic soda bottles! 

So I got out my multi surface acrylic paints to color the flowers - which made them opaque.

Once all the flower layers were painted in each color, and dry, they were sealed with Gloss Mod Podge to make them shine! When dry, an awl was heated over the candle flame and pierced each of the four plastic flower layers on a piece of foam.


Next, about a 1.5" piece of wire was cut from stem wire to secure the layers together. This was done by using a small round needle nose pliers to make a round loop closure on one end .  .  .
and inserting the wire into the smallest flower layer, and then the next two sizes, and finally the largest size flower layer.

Then turning the layers over to the back while pressing them together. 

And finally using the needle nose pliers to close the wire end with a loop.
Looks pretty, doesn't it!
I used paint to conceal the look of the wire loop in the center. But you can decorate the center to your liking with just about anything like beads or faux stamens.

Here are all the plastic bottle flowers made in the colors of the rainbow:
RED
ORANGE
YELLOW
GREEN
BLUE
INDIGO
VIOLET


Welcome to our monthly Sustainable Craft Challenge! As I mentioned before, this months' theme is RainbowThe challenge is all about sustainable crafting with a different theme each month!  ll projects must have some sort of a sustainable element to them. This could be an upcycling or recycling element, or something that reduces waste, uses leftovers, etc. 

I hope you enjoyed how I made Plastic Bottle Rainbow Flowers - a great way to reduce, recycle and reuse!


Be sure to check out all the creative Rainbow Sustainable Crafts projects from my fellow crafters listed below:

  Sum of their Stories:  Paper Rainbow Ring Binder

  Christine's Crafts:       Easy Rainbow Brooches  

  Purple Hues and Me:   Upcycled Plastic Bottle Rainbow Flowers

  Sew Crafty Crochet:    St. Patrick's Day Rainbow Scarf

  Our Good Life:           Easy Rainbow Hearts Tote


  Mimi A Great Name for Grandma: Upcycled Tin Can Planters